BMW E36 Cowling Replacement
BMW E36 Cowling Replacement
I couldn't seem to really find any information on people having a problem with their cowling at the bottom of the windshield. Mine had gotten very brittle from the sun beating on it over the years and was starting to crack and no longer made a good seal between the window and the plastic.
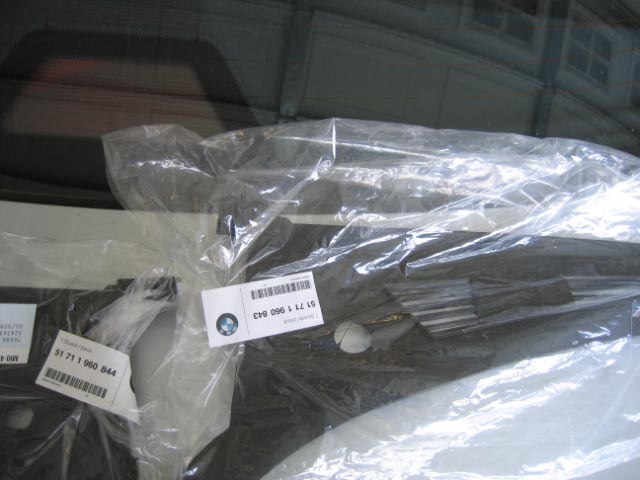
The first thing I did was order the parts from the dealer they were fairly inexpensive only bout 25 dollars for each piece and I made sure to get new clips to attach them to the car with. The part numbers for each piece are as follows:
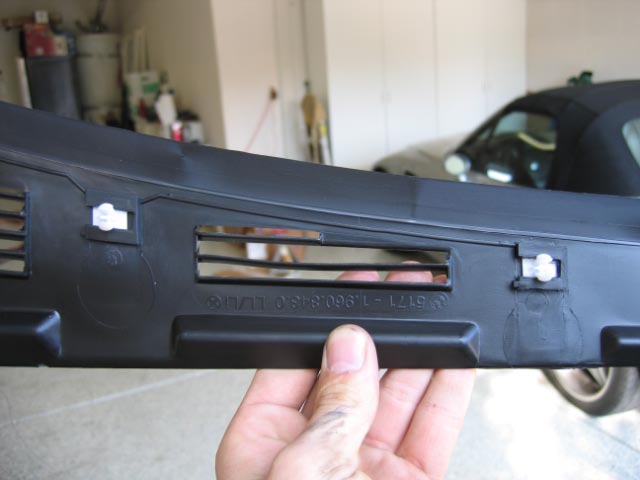
The right one is 51 71 1 960 843
The left one is 51 71 1 960 844
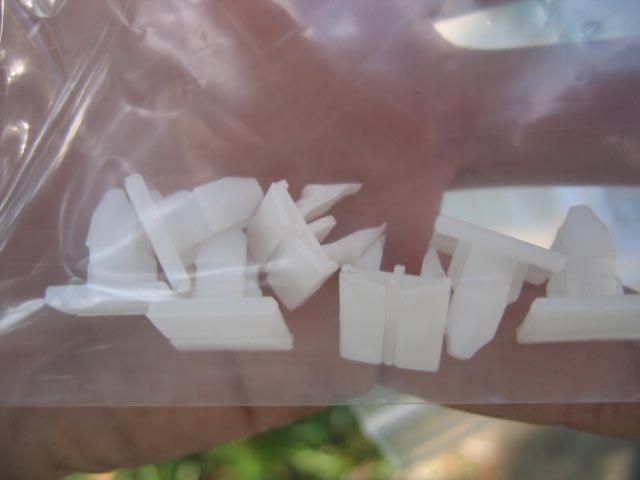
And just ask for the clips to attach them to the vehicle.
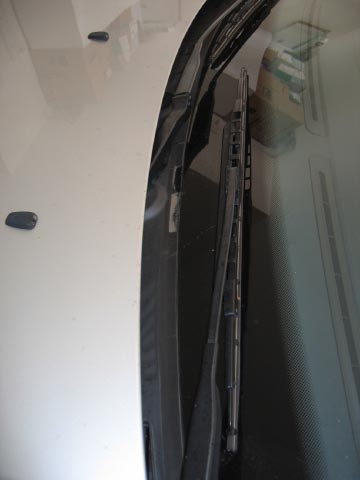
The first step in the procedure is remove the windshield wipers from the car because the cowling pieces have to come off over the posts that wipers are mounted too. All you do is simply take a flat head screwdriver and pry the caps off the top of wiper posts where the little notch is for you to pry the cap off. Then just undo both the nuts that you see under the caps. Mine were not on very tight at all in fact the first one I got off just by turning the socket by hand with out even having a ratchet on the socket. After the nuts are off wiggle the wiper arm back and forth a little bit while pulling up and the arms should slide right off the post.

The next step is to remove the old cowling from the car. The easiest way to do this is to just pry the old cowling off starting with the right piece this is why you will probably need new clips for the new pieces because a lot of the clips will probably break and won't be usable again. The left piece has only two clips like the right one and then you have to unscrew two mushroom shaped caps with a flat head screwdriver and then it should just lift right off the car.
At this point both pieces are off the car and in my case there was a lot of dirt and pine needles and what have you underneath where the cowling pieces had been. I just used water and some rags to scrub all the dirt out and remove the pine needles from the trough.
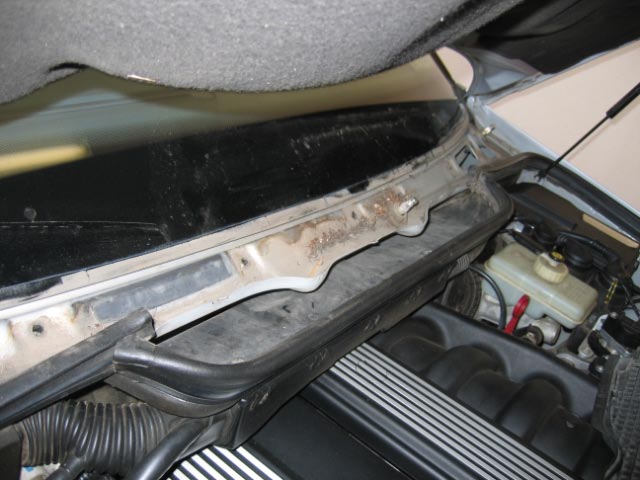
After it is all cleaned up its time to put the new pieces in. You will notice that there are these little black plugs in the holes that the clips were originally in be careful if trying to get them straight in the holes that you don't push them all the way through the hole like I did. I had to pull apart some of the firewall to get to where the plug had fallen.
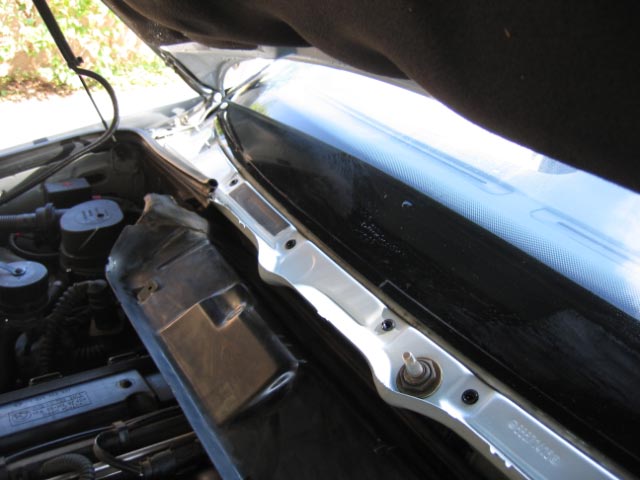
Any way at this point put the new clips on the new cowling pieces and locate them about half way in each slot so that the clips are about in the middle. Put the left piece on first because it has a lip that has to be placed under the right piece. Just fit the clips into the holes and give them a good tap as they snap into place and then screw the mushroom shaped caps back on. Do the same with the right piece and it should be all put back together. All and all a really simple job makes the car look a lot better and feels good to know that the dirt and pine needles are being kept out of the water drains of the car.
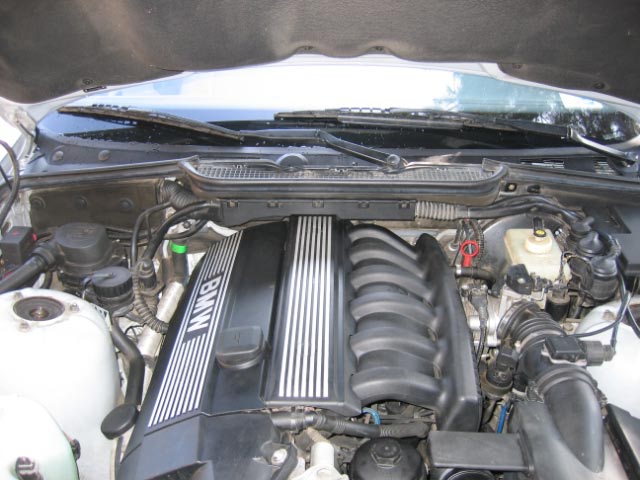
All finished with the wipers back on and the new cowling.
the clips you need to get from the stealer
one more finished product picture. Looks much better in that space between the hood and the windshield now with the new peices in.

About The Author
Bimmerforums.com leedawg